
Glass Dropper Bottles: Matching Bottle, Pipette and Product
Choose glass dropper bottles by checking the finish, pipette length and diameter, bulb material, fill level and sample results before a bottling-line trial.
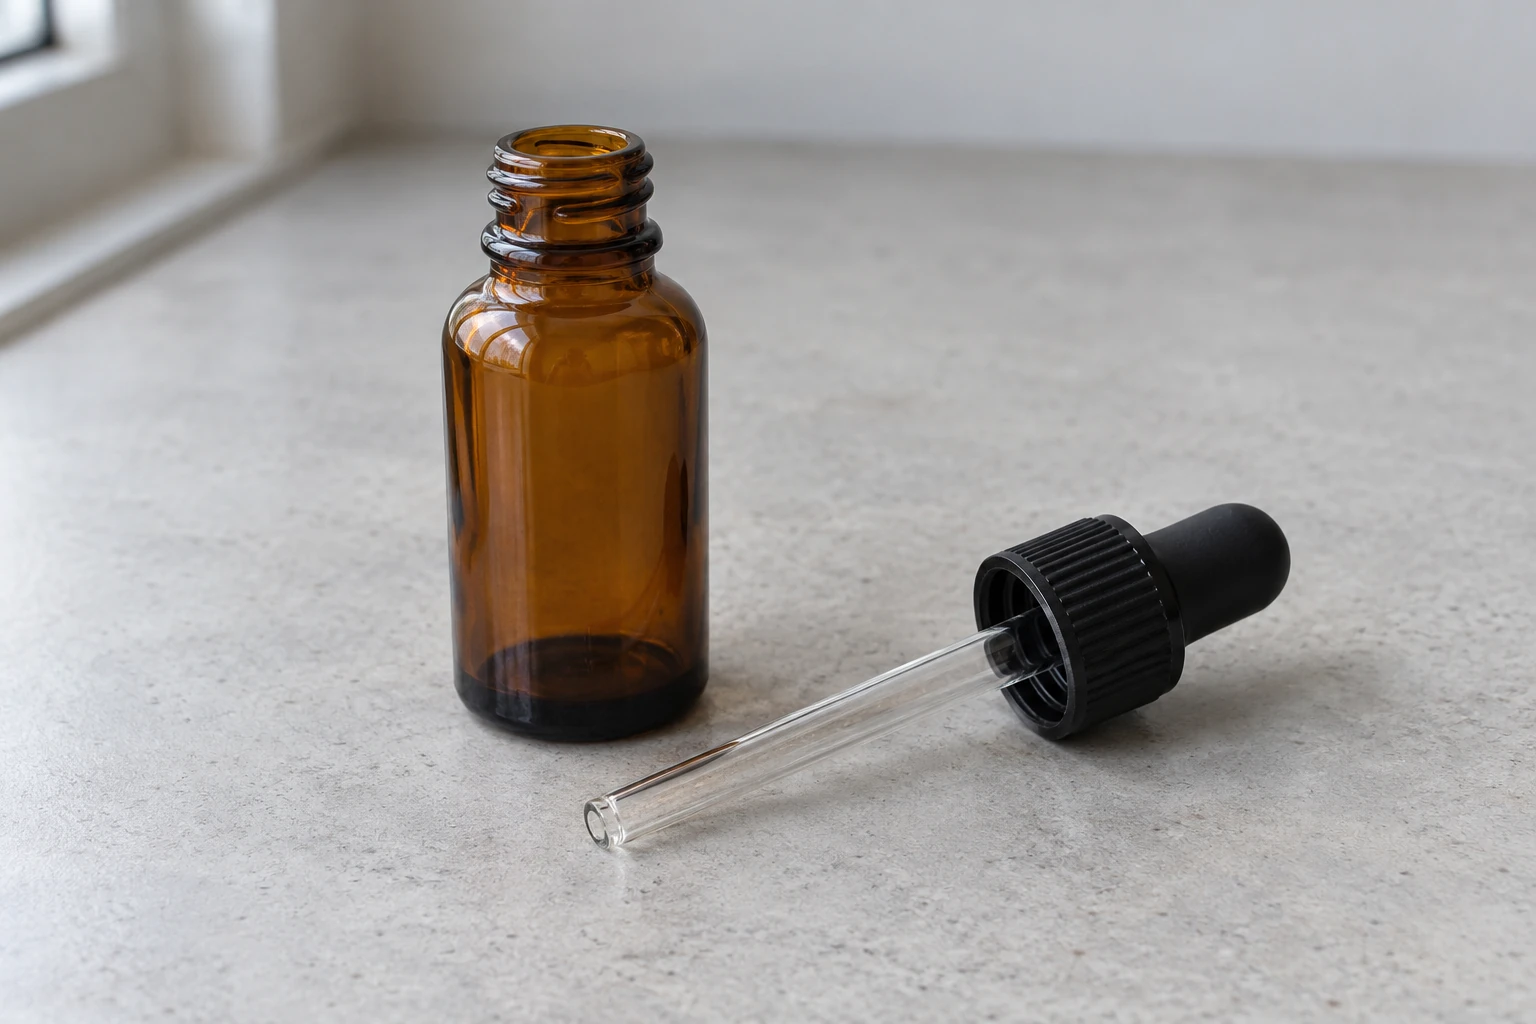
A dropper that screws onto a bottle can still leak or leave a pipette that cannot reach the product. Choose the bottle, complete dropper assembly and liquid together: check the finish drawings, the pipette’s installed position and the materials before approving samples for your line. This guide turns those checks into a record you can use with bottle and closure suppliers.
For glass dropper bottles, a matching capacity or cap diameter is only a starting point. The useful match is a bottle drawing paired with an assembly drawing: the collar and seal fit the finish, the pipette passes through the opening and reaches the intended liquid level without touching the base, and the bulb suits the product and dispensing task. Then check the actual filled samples. The specification example below shows published pipette dimensions; it does not prescribe a stem for your bottle. Use the checklist to identify what to confirm before ordering a full set or changing an existing bottling format.
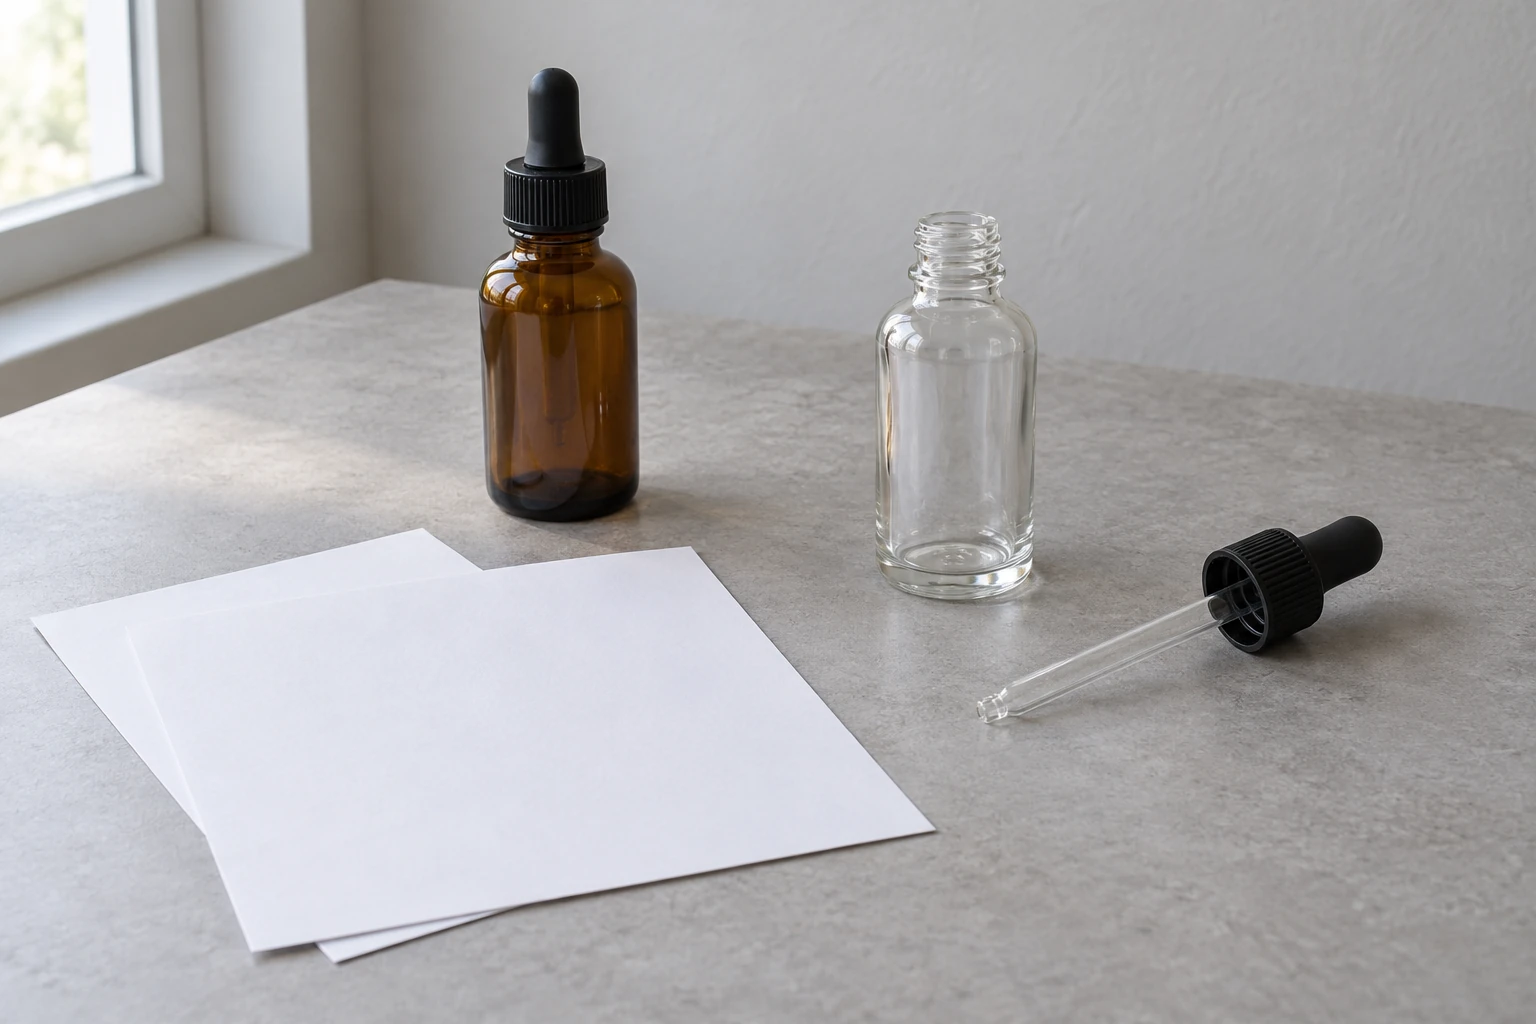
The cover is a generated illustration of the objects being specified, not a photograph of a tested package.
Quick specs: what information do you need first?
Start with drawings for the bottle and complete dropper, plus a description of the liquid and filling process. Record the units and the drawing revisions beside the values. These inputs let the suppliers discuss the same assembly instead of interpreting a request such as “a dropper for this bottle” differently.
Swipe or scroll horizontally to see all columns.
| Input or item | Value or source to record | Why it matters |
|---|---|---|
| Bottle capacity and fill point | Bottle specification and proposed product fill | Separates the pack volume from where the liquid will sit |
| Finish and closure interface | Bottle and collar drawings, including sealing surfaces | Identifies the connection to check |
| Internal depth | Bottle section drawing, with its measurement reference | Locates the base relative to the installed stem |
| Pipette dimensions | Stem length, outside diameter, tip and installed projection | Establishes the part being compared with the bottle |
| Bulb and other contact materials | Component specifications and your liquid description | Defines the compatibility questions |
| Dispensing task | Product team’s required amount and user action | Defines what the sample evaluation should observe |
| Process conditions | Intended filling, insertion, closing and storage conditions | Makes the sample review relevant to production |
Use the glass container guides to put the dropper pack into the wider container specification. This page concentrates on the assembly; it does not identify a supplier or offer bottles for sale.
Takeaway: Collect the bottle, assembly and product inputs before deciding that a catalogue match is ready to order.
What has to match in a dropper bottle assembly?
Check the components as one package. In the conventional bulb-operated design, the collar holds the bulb and pipette together and attaches them to the bottle. Richmond’s component explanations distinguish the tube, collar and bulb; they also describe a design in which the underside of the bulb forms the gasket against the bottle lip.
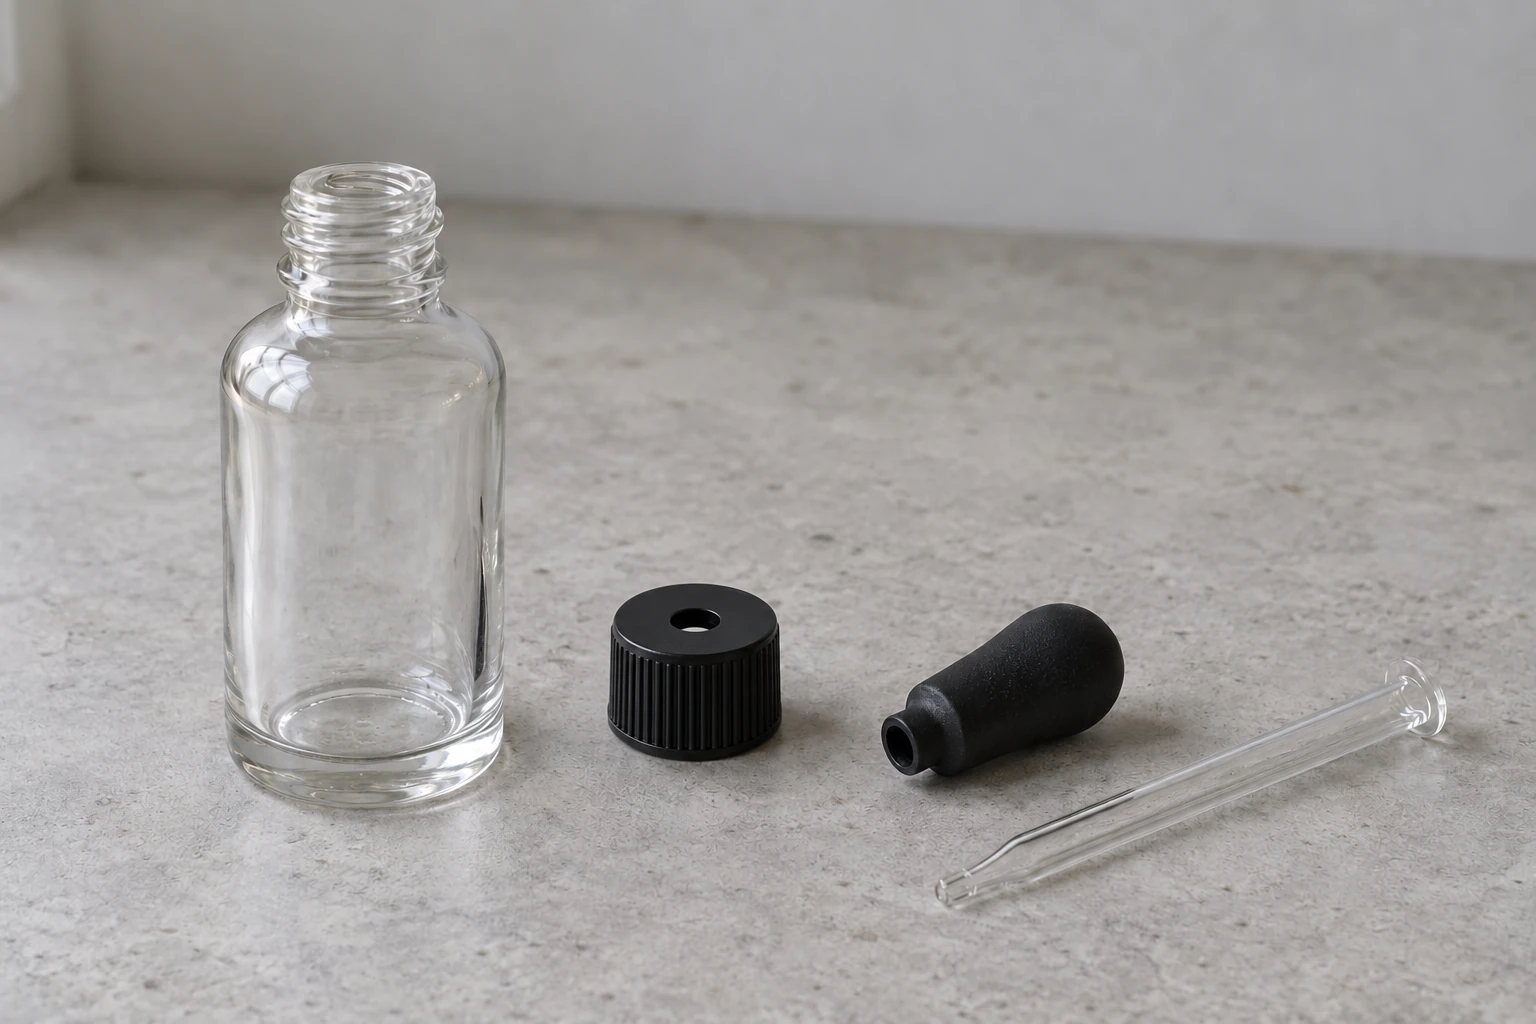
Ask the closure supplier to identify the sealing surface on its particular design. Do not assume the visible cap is the only part that makes the seal. If a wiper or another insert is included, add it to the component list and ask which stem it is designed to accept.
Swipe or scroll horizontally to see all columns.
| Part | Question for the drawings | What to keep in the sample record |
|---|---|---|
| Bottle | Which finish, opening and internal profile does this article have? | Bottle reference and drawing revision |
| Collar | Which bottle finish and seal does it use? | Complete assembly reference, not just cap color |
| Bulb | How is it retained, and which surface contacts the product or bottle? | Material specification and assembly detail |
| Pipette | How is it held, and where does the tip end when closed? | Stem reference, tip shape and installed position |
| Wiper or separate seal, if present | Which mating parts and dimensions are specified? | Insert reference and supplier confirmation |
The neck finish and closure compatibility guide explains the broader drawing questions. For this selection, obtain the full finish identification from both suppliers rather than choosing from a nominal diameter alone.
If you buy the parts separately, nominate who will confirm the complete combination. The stock versus custom bottle guide helps separate a stocked bottle from a package that still requires component or tooling work.
Common mistake: Approving the bottle first and treating any cap that turns onto it as an approved dropper assembly.
Takeaway: Identify the sealing design and every mating component before comparing samples.
How do you choose pipette length and diameter?
Use the bottle’s internal geometry and the stem’s position after assembly, rather than subtracting an allowance from the bottle’s external height. A loose stem length does not tell you how much extends below the seated closure. Ask the suppliers to show that installed projection and the available internal space on compatible drawing references.
Glass Dynamics publishes the following straight-tip borosilicate pipette specifications, reviewed October 9, 2026. These are manufacturer catalogue ranges, not standard dimensions for glass dropper bottles and not evidence that every combination is stocked.
Swipe or scroll horizontally to see all columns.
| Published pipette category | Stem outside diameter | Published length range | Source |
|---|---|---|---|
| 5 mm borosilicate, straight tip | 4.5–5.0 mm | 34–160 mm | Glass Dynamics, “Glass Specifications: 5mm Borosilicate” |
| 7 mm borosilicate, straight tip | 7.0–7.4 mm | 39–160 mm | Glass Dynamics, “Glass Specifications: 7mm Borosilicate” |
The manufacturer’s metric table illustrates why a size label alone is incomplete: its “5 mm” straight-tip category lists an outside-diameter range of 4.5–5.0 mm and lengths of 34–160 mm. Confirm the chosen part’s actual dimensions and tolerances; those catalogue ranges do not establish fit with a particular neck, bulb or wiper. The original specification table is a source example, not a supplier recommendation.
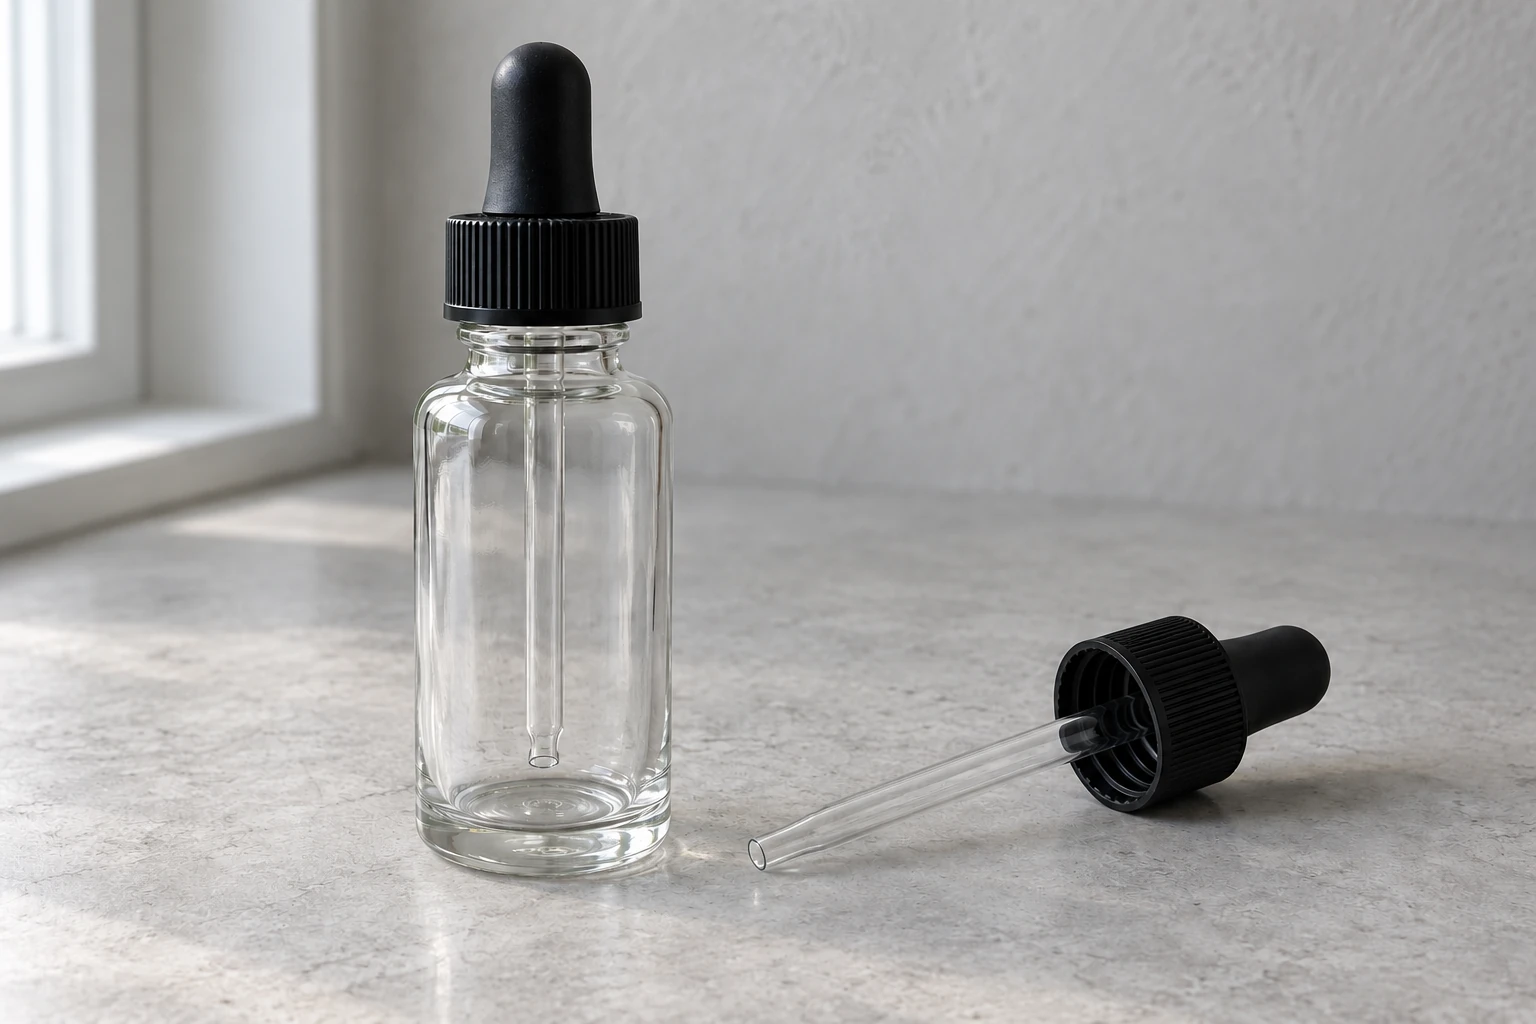
Use this drawing checklist to narrow the candidates:
- Agree the reference points. Ask where the quoted stem length starts and ends, how much is held inside the bulb or collar, and where the closure seats on the bottle.
- Check the tip position. Request the bottle’s internal section and the closure’s installed stem position together. Richmond’s tube guide warns that an overlong stem can contact the bottom and break. Have the supplier specify the clearance for the chosen parts and their tolerances.
- Check the passage. Compare the stem and tip envelope with the bottle opening and any insert. A bent tip needs its full shape considered; the straight tube’s diameter is not the whole insertion envelope.
- Check product access. Observe pickup at the proposed initial fill level and as the bottle empties. Decide what residual product is acceptable for the dispensing task before accepting the sample.
The last check connects stem selection to the fill point. Record the liquid level after filling, after the assembly is inserted, and with the dropper in the position used to draw product. Ask for a filled sample review if the proposed pack leaves uncertainty about liquid level or usable contents. These are planning observations, not a universal fill formula.
Use the bottle specification checklist to request capacity, fill point and drawing data in the same document. Keep both suppliers’ references when a different bottle shape is proposed at the same capacity.
Common mistake: Buying a replacement stem by bottle volume or overall height while leaving its installed position unspecified.
Takeaway: Select a documented stem and check its installed tip, insertion envelope and product access against the actual bottle.
Which bulb and sealing materials should you check?
Ask for the exact materials in the complete assembly and put the liquid’s composition and intended conditions beside them. A description such as “rubber bulb” is too broad for a compatibility discussion. Richmond’s bulb guide treats material choice as product dependent and notes that actual pickup also depends on the liquid and how the bulb is squeezed.
Use the following questions to prepare a review with the component supplier:
Swipe or scroll horizontally to see all columns.
| Information to provide or request | Question to resolve |
|---|---|
| Liquid description, including relevant oils or solvents | What compatibility information covers this formulation? |
| Bulb, stem, collar and seal specifications | Which parts can contact the liquid during normal use or storage? |
| Intended filling and storage temperatures | Which conditions should the sample evaluation reproduce? |
| Required dispensing action and amount | What should be measured with the actual liquid and assembly? |
| Proposed evaluation period and acceptance criteria | Who defines and approves the results? |
Avoid picking a material from a generic ranking. Ask the supplier what its evidence covers, and agree observations such as changed bulb feel, visible component changes, leakage and pickup behavior for your evaluation. A record of the exact formulation and component references is more useful than a statement that the package “works with oils.”
The glass bottle filling-machine guide can help you describe the liquid and filling requirements. Use that process information in the package review too; the closure review should not assume conditions different from the intended line.
Takeaway: Compare identified materials with an identified liquid and process, then agree how the combination will be evaluated.
Should you choose amber or clear glass?
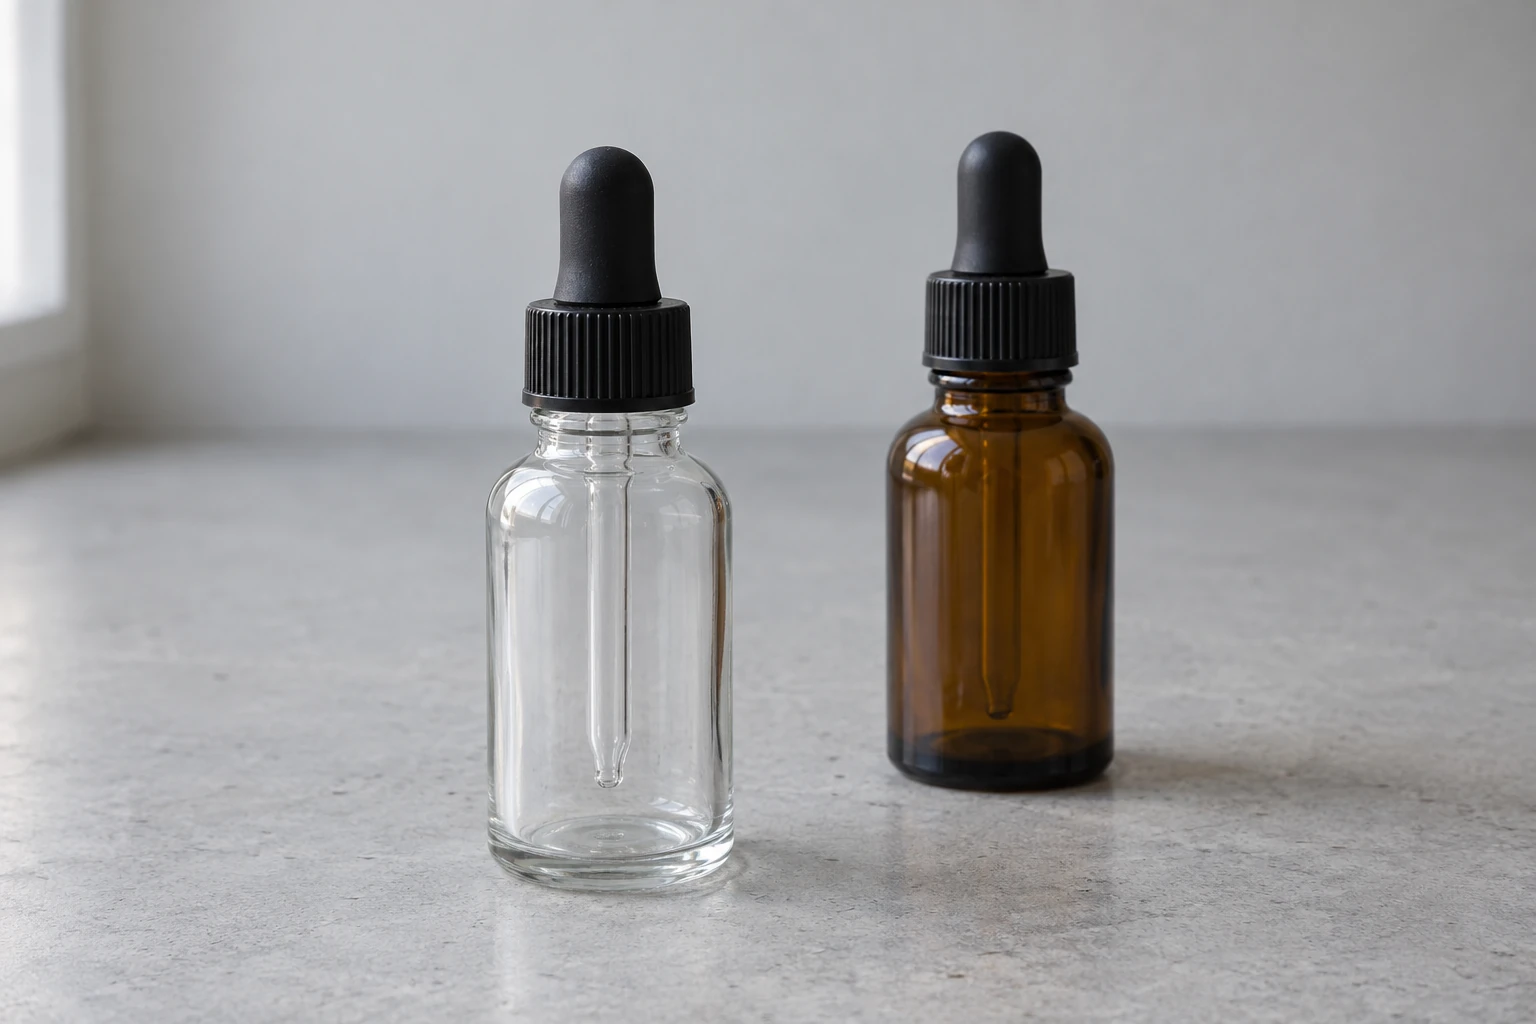
Start with the product’s light-sensitivity information. Acme Vial describes clear glass as a way to display contents and amber glass as an option for light-sensitive products. That supplier description is a reason to investigate amber, not evidence that a particular bottle provides sufficient protection or extends the life of your formulation.
Swipe or scroll horizontally to see all columns.
| Product requirement | Starting candidate | Evidence to request before approval |
|---|---|---|
| Contents should remain visible and no light-protection requirement has been set | Clear glass for evaluation | Confirmation from the product team of the exposure conditions to assess |
| The formulation is known to be light sensitive | Amber glass for evaluation | Bottle transmission information and product-specific stability assessment |
| Another glass color is desired | The proposed colored bottle | The same product and exposure assessment; do not infer equivalence to amber |
| The protection requirement is unresolved | Keep color selection open | Product-team definition of the requirement before pack approval |
Ask how the package will be stored and presented, including any outer packaging. Keep that description with the color sample and bottle reference. If the bottle supplier changes the article or glass specification, ask what evidence needs to be reviewed again.
This matrix selects a candidate to assess; it does not claim a protection percentage, wavelength cutoff or shelf life. The glass bottle sourcing guide provides the wider vocabulary for describing color and bottle form to suppliers.
Takeaway: Use color to shortlist a bottle, then request the evidence needed for your product’s actual exposure conditions.
How should the package enter a bottling line?
Treat the complete dropper pack as the format to review, including the way the stem is inserted and the closure is held. Before equipment selection, give the line supplier the bottle and assembly samples and drawings. Ask it to show how the proposed handling and closing sequence accommodates those particular parts.
Glass Dynamics describes bulk and aligned pipette packing options. Ask which packing orientation is offered for the components you will receive and whether it suits the proposed feeding method. A catalogue statement about feeding does not confirm that your finished assembly will run on your machine.
For a sample or line review, agree what observations will determine the next decision:
Swipe or scroll horizontally to see all columns.
| Stage | Observation to record | Question for the team |
|---|---|---|
| Bottle presentation | Stability and access to the opening | Can the intended handling present this bottle consistently? |
| Filling | Liquid level and product on the finish | Does the process leave the sealing area in the agreed condition? |
| Assembly insertion | Tip passage and seating behavior | Is there contact or interference to investigate? |
| Closing | Grip, closure position and agreed measurements | Is the application method suitable for the complete assembly? |
| Filled-pack review | Leakage, opening and repeat-use observations | Does the package meet the project’s agreed criteria? |
Richmond’s collar guide explains that product on threads can contribute to closure back-off. Include the finish condition in the discussion if samples leak or loosen; increasing the capper setting without identifying the cause is not a documented resolution.
Use the capping equipment guide for equipment and closure-verification questions, and the bottle changeover guide when introducing this pack to an existing line. Neither page supplies a universal torque value for your dropper.
Decide how abnormalities will be recorded and investigated. The bottle inspection guide provides context for separating container defects from filling or closing observations. A photograph or a single closed sample should not be treated as the full evaluation record.
Takeaway: Review the bottle and complete assembly in the proposed filling and closing sequence, with acceptance criteria agreed in advance.
What belongs in a supplier comparison?
Compare proposals for the same package rather than comparing a bottle-only offer with a complete assembly. Send each supplier the same product and process description, identify what is included, and ask it to mark the information it still needs. This gives you a practical basis for requesting drawings and samples without inventing missing specifications.
Swipe or scroll horizontally to see all columns.
| Item in the comparison record | What to attach or identify | Decision it supports |
|---|---|---|
| Bottle article | Drawing, capacity, proposed fill point and color | Defines the container being evaluated |
| Complete dropper | Collar, bulb, stem, seal and any insert references | Defines the assembly and included parts |
| Dimensional confirmation | Installed projection, tip envelope and agreed fit references | Identifies unresolved mating dimensions |
| Contact materials | Component specifications and product description | Defines the compatibility review |
| Supply form | Assembled or separate parts, packing orientation | Defines what production will receive |
| Samples and evaluation | Sample identity, agreed conditions and results required | Defines the evidence needed before acceptance |
| Open questions | Named owner and information requested | Keeps assumptions visible in the comparison |
For your own record, mark each item as supplied, awaiting clarification or awaiting sample evaluation. These are working statuses, not certifications. Keep a proposed substitute as a separate candidate until its bottle and assembly references have been checked.
Carry the completed package description into the bottling equipment RFQ checklist if you also need a line proposal. Add the actual body and label-panel dimensions for the labeling discussion; the bottle labeling guide explains why the label format is another input to review.
Takeaway: Ask suppliers to respond to the same bottle, assembly, product and evaluation requirements, with open questions clearly assigned.
When this does not apply
This guide concerns selecting a bulb-and-pipette package for a liquid product. It does not establish drug or cosmetic compliance, a medical dose, child-resistance or tamper-evidence certification, or a validated cleaning process. Those requirements need their own qualified assessment and the documentation for the exact package and intended market.
A bottle with a fixed dispensing insert and separate cap is also a different assembly from the removable pipette described here. For hot filling, pressure, sterilization or another demanding process, request explicit supplier confirmation before using these checks as part of the package review. No clearance, torque, temperature or test duration in this guide replaces a project specification.
Takeaway: Use this checklist to prepare a package review; commission the additional process or regulatory assessment your application requires.
Frequently asked questions
How many mL is a dropper pipette?
There is no single volume for every packaging pipette. Ask whether the supplier means bulb capacity, a stem graduation or liquid delivered in use. Richmond’s bulb guide notes that liquid behavior and squeezing affect pickup. Have the required amount checked with your product; this guide does not establish a medical dose.
What is a standard dropper size?
A size name can describe a component category without specifying the whole assembly. Request the stem dimensions, collar and bulb references, and mating bottle drawing. The published ranges above illustrate the distinction between a nominal stem category and the dimensional information needed to select a part.
What size label should I use for a 1 oz dropper bottle?
Request the actual bottle drawing and its usable label panel. The capacity stated in the question is not a label width or height. Give the label supplier the proposed artwork area and bottle sample, then confirm the label and application method together rather than using a generic capacity-based template.
What are glass dropper bottles used for?
Suppliers describe them for liquid products such as oils and serums, where a removable pipette supports dispensing. Those examples do not establish suitability for your formulation. Choose the contact materials and dispensing function for the intended use, and obtain any separate compliance assessment the product needs.
Can you recycle glass dropper bottles?
Ask the local collection program about the bottle and closure separately. A glass bottle and a mixed-material bulb, collar and stem are different items. Richmond’s tube guide discusses that distinction; the presence of a glass stem does not mean the assembled closure is accepted in the bottle recycling stream.
How do you clean glass dropper bottles?
Request instructions for the exact bottle and complete assembly from their suppliers. Tell them the previous contents and intended reuse. A method suitable for the bottle alone does not establish suitability for the bulb or seals. For production use, obtain an approved process rather than assuming a home-cleaning method is sufficient.
Related reading
- Bottle specification checklist — Collect the bottle drawing, capacity and packing information alongside the dropper record.
- Neck finishes and closure compatibility — Read the drawing and closure-interface questions before selecting a collar.
- Capping equipment for glass bottles and jars — Prepare the equipment and verification questions once the package is defined.
Method and sources
This guide compiles public manufacturer specifications and supplier component explanations into a selection checklist. The dimensional table uses the metric straight-tip borosilicate entries from the identified manufacturer; the workflow and comparison records are editorial recommendations, not an industry standard. No package, liquid or bottling line was tested for this article.
- Glass Pipettes, Glass Dynamics — Manufacturer specification tables for stem outside diameter and length; source example rather than a recommendation. Reviewed October 9, 2026.
- Cosmetic Dropper Pipettes, Part 1, Richmond — Supplier explanation of stem position, tip shape, materials and mixed-material recycling. Reviewed October 9, 2026.
- Cosmetic Dropper Pipettes, Part 2, Richmond — Supplier explanation of collar, sealing arrangement and back-off. Reviewed October 9, 2026.
- Cosmetic Dropper Pipettes, Part 3, Richmond — Supplier explanation of bulb materials and pickup variables. Reviewed October 9, 2026.
- Choosing Dropper Bottles, Acme Vial & Glass — Manufacturer guide published November 1, 2024; used for color and application context, without adopting its performance or regulatory claims. Reviewed October 9, 2026.
The photographs in this guide are generated illustrations. They identify objects and review tasks, and provide no dimensional, compatibility or performance evidence.
Related guides

Bottle Neck Finishes and Closure Compatibility
How to read finish designations such as 28-400 and the T, E, I, H and S dimensions, and why a matching nominal diameter does not prove a closure fits.
Read the guide
Glass Bottle Specifications: A Checklist for Supplier Enquiries
A checklist of what to state in a glass bottle enquiry: drawing dimensions, capacity and fill point, finish, color, strength, decoration, quality and packing.
Read the guide
Choosing Capping Equipment for Glass Bottles and Jars
Prepare a capping requirement from finish and closure data: screw, ROPP, crown, lug, press-on and cork application, torque, and how to verify closures.
Read the guide