
Bottling-Line Changeovers: What to Check Before Adding a New Bottle
Which change parts a new glass bottle touches, which bottle data to check, and how to run and document a trial before the bottle goes into production.
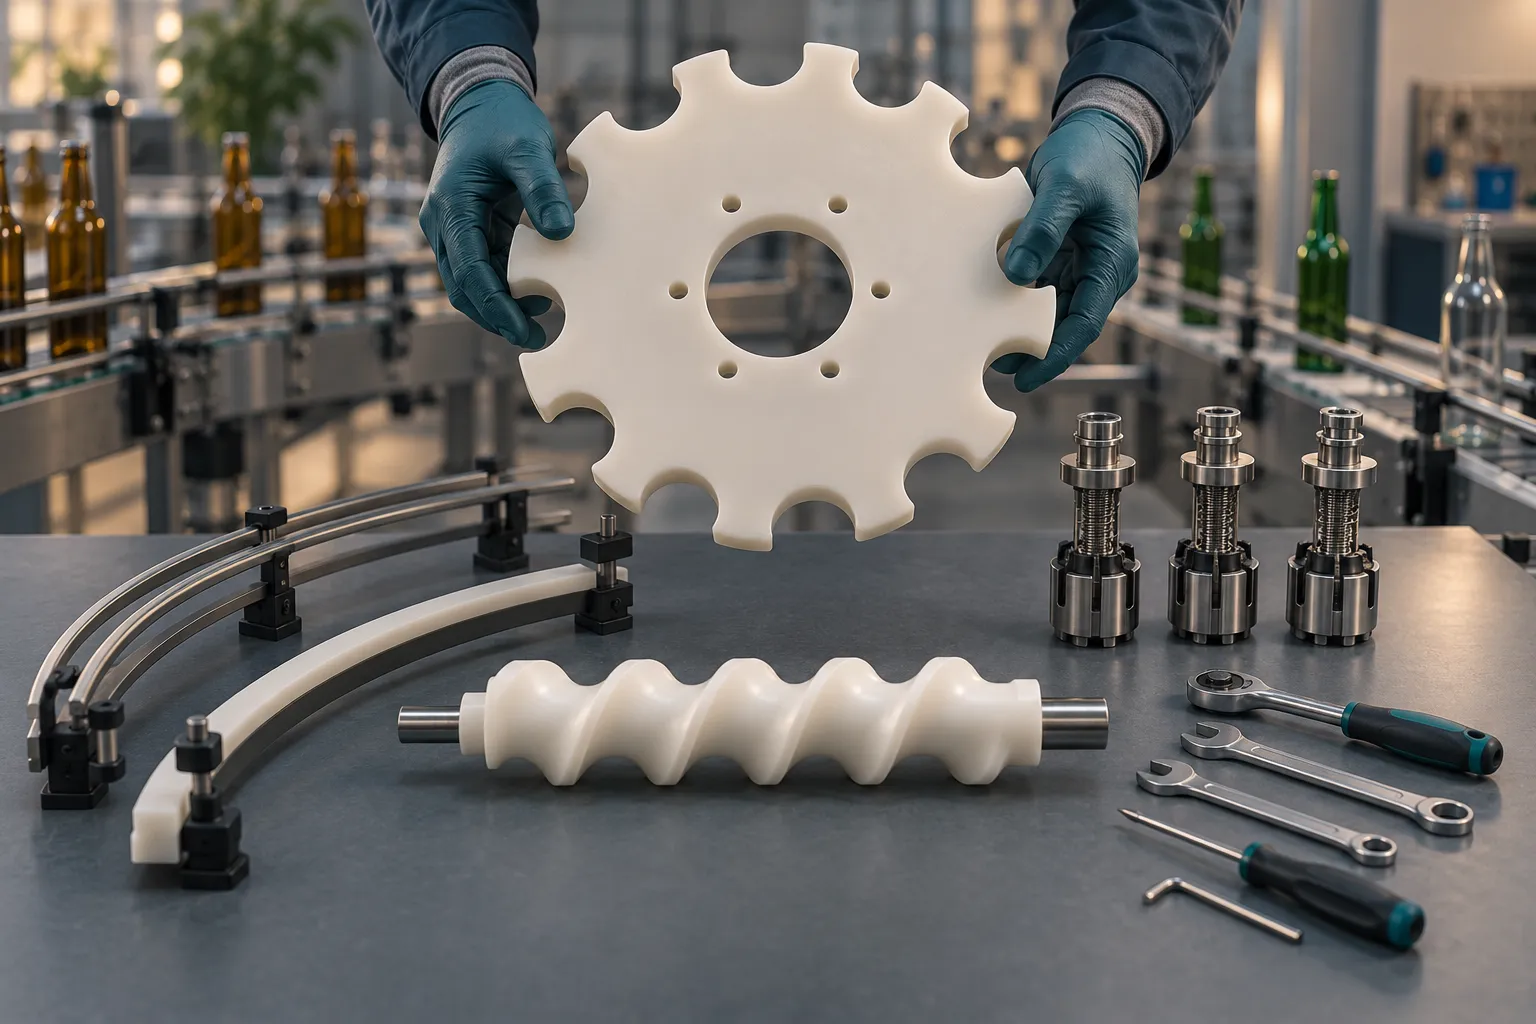
A new bottle that does not fit the line can jam transfers, break glass or stop production. Check its drawing and samples at every station, then document parts, adjustments and retest results before accepting the format.
Swipe or scroll horizontally to see all columns.
| Station | Bottle data | Part or adjustment to verify | Retest result |
|---|---|---|---|
| Infeed / transfer | Diameter, pitch, contact point, height | Screw, starwheel, rails and supports | ____ |
| Filler | Finish, rim, height, nozzle clearance | Centering bell, lift, tube/nozzle | ____ |
| Capper | Finish, closure, height | Chuck, gripper, head and cap delivery | ____ |
| Labeler | Panel, body shape, label position | Platform, guides and sensors | ____ |
| Inspection | Height, silhouette, finish | Cameras, recipe and reject timing | ____ |
| Case packer | Diameter, height, pack layout | Grid, partition and pick head | ____ |
Copy or print the table for each bottle revision. The format record below adds ownership and acceptance status. This is a configuration check, not a claim that every listed part needs replacement.
Change parts a new bottle touches
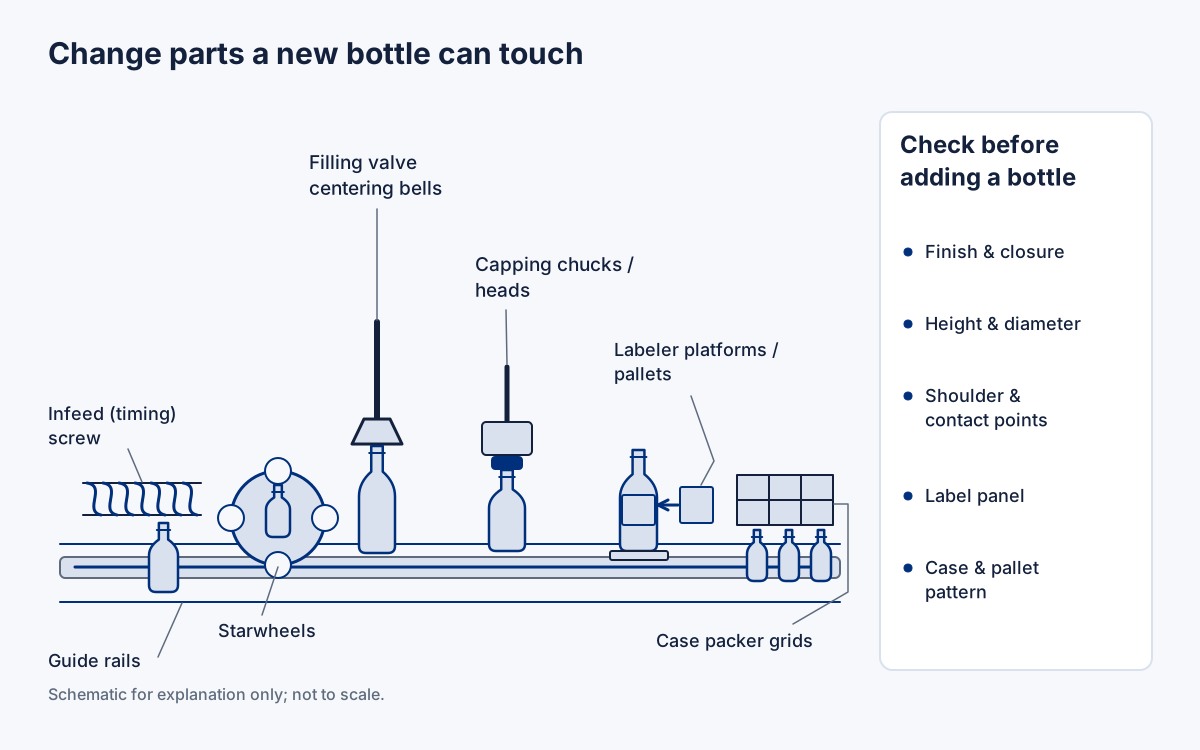
Change Parts Inc., a parts maker, describes change parts as guides, starwheels and infeed systems for bottles of different sizes and shapes; chucks, grippers and heads for closures; and rollers, guides or applicator parts for label types. A specification article on filling lines (MarketBrief360) adds that the visible parts are only some of the format-dependent items: filling tubes, bottle lifts, centering bells, vent components, capper heads, inspection recipes and labeler setup may also be format-dependent, and the question to ask is what must be changed, adjusted, cleaned and reverified before the next product runs within specification.
The case packer row follows from the same logic and rests on editorial analysis, not a specific source; confirm it with the packer supplier. Depending on the line, some parts need no change at all. Fogg Filler, a filler maker, describes universal bottle handling where expandable guides and starwheels are adjusted and color-coded keys are swapped per bottle, and igus reports that a Krones clamping starwheel replaces pocket starwheels that otherwise take around two hours per change. Both are supplier descriptions. Whether such a system suits your bottle range is a question for the supplier and a trial. See the filling machines guide for how filling principle affects format flexibility.
Bottle data to check
Use the supplier drawing, not the catalog photo. The checklist from the bottle specification guide applies, and these items matter most for fit.
- Height. Controls infeed and transfer rail positions, filler stroke or lift, capper clearance, label position and inspection recipes.
- Body diameter and ovality. Controls infeed pitch, pocket sizes, centering and guide spacing. Mojonex, an equipment vendor, notes that a shared nominal volume does not mean two containers share handling characteristics.
- Shoulder and heel shape. Controls neck rails, base supports and whether a bottle tips or catches at transfers. If the bottle is a stock or custom design not yet run, the stock vs. custom guide covers sampling and line trials before ordering.
- Finish. Controls filling valve centering, capping chuck and closure compatibility, and sealing-surface cleanliness. The neck finishes guide covers finish designations; do not infer a fit from the nominal diameter alone.
- Label panel. Controls labeler platform or pallet shape, label sensor position and whether the panel is cylindrical or interrupted. See bottle labeling methods.
- Weight and variation. Mojonex recommends recording empty and filled mass and noting stable support surfaces and areas that must not be clamped. Sample variation matters as well as the drawing.
Mojonex also advises marking unknown dimensions as open rather than copying values from a similar bottle, and attaching the supplier lot or revision to the record. That is vendor guidance, but it prevents a common error.
Trial runs
Bottleunscramblers.co.uk, a vendor, recommends several empty bottles rather than one because they show variation and allow feeding behavior to be checked, and running the smallest, largest and least stable bottles using documented settings. It also advises recording evidence of stability, damage, orientation, recovery and changeover, and notes that where verified numerical acceptance criteria are not available, agree clear qualitative evidence instead of inventing a figure. Keep the bottle dimensions and current setup with the trial record so any adjustment can be traced and the accepted settings restored.
A practical trial plan has these steps.
- Dimensional check of delivered samples against the drawing, including finish gauging.
- Handling run through infeed, transfers and conveyors, with a planned downstream stop and restart.
- Filling and closing run with the intended product or an agreed substitute.
- Labeling run with production-equivalent labels.
- Inspection run with test bottles for the new format.
- Pack-out run through the case packer.
- A repeat of the worst-case bottle and any step affected by adjustments.
Wine, beer and sauce lines weight these steps differently; the application guides on wine, beer and sauce bottling cover them.
Takeaway: Keep a failed trial open, record the adjustment and repeat the affected checks before changing its status to accepted.
Documentation to keep
Keep the opening station table with one record per bottle format. Fill in each field below so another operator can reproduce the setup. The supplier trial advice calls for installed parts, settings and outcomes, including extreme bottles; untested future formats remain open scope.
Swipe or scroll horizontally to see all columns.
| Format record | Entry |
|---|---|
| Bottle / closure / label revision; supplier lot | ____ |
| Installed parts and settings sheet / recipe revision | ____ |
| Drawing and sample check references | ____ |
| Trial product, speed and stop/restart conditions | ____ |
| Damage, stability, fill, seal, label and reject results | ____ |
| Status: accepted / adjust and retest / unverified | ____ |
| Open action, affected stations, owner and retest reference | ____ |
| Approval owner and date | ____ |
Takeaway: A changed setting needs a recorded retest of the affected stations. Leave the format unverified until the agreed checks are completed; a bottle that fits one starwheel has not passed the whole line.
For future formats, use the line planning guide and compare supplier scope with the RFQ checklist.
Questions to send suppliers
- Which parts must be changed, adjusted or cleaned for each format, and which are recipe-controlled?
- Which change parts are included in the quote, how many sets, and who supplies parts for future bottles?
- What bottle drawing data, samples and tolerances do you need, and how many samples?
- How are bottle height references set and confirmed at the filler, capper and labeler?
- What range of diameter, height and shape does the proposal cover, and what is outside it?
- How are guides, starwheels and rails stored, identified and verified as the right set?
- What changeover documentation, checklists and setting records do you deliver?
- What trial do you propose for a new bottle, and who attends and signs off?
- Which inspection and reject recipes change per format, and how are they validated?
- What assumptions in the quote depend on the finish, shoulder or label panel of the specific bottle?
Evidence and limitations
The line’s design decides the answer beyond this point. Which parts change, how much adjustment is recipe-based and how long a changeover takes depend on machine make, bottle range and operator practice. Several sources are vendors describing their own approach, and none is an independent measurement. No changeover times, success rates or costs are offered; the igus figure is a supplier statement about one clamping starwheel.
- Why Choose CPI for Custom Bottling Change Parts?, Change Parts Inc.: categories of change parts and data to supply (vendor source). Accessed October 8, 2026.
- Injection-moulded clamps in Krones bottlers, igus: pocket starwheel changes versus a clamping starwheel (supplier statement). Accessed October 8, 2026.
- Universal Change Parts, Fogg Filler: expandable guides and keyed starwheels (manufacturer page). Accessed October 8, 2026.
- Container, Closure & Label Data for Compact Filling Lines, MUJIU Industry: bottle data and per-format records (vendor source). Accessed October 8, 2026.
- Bottle Sample Testing for Unscramblers, Bottle Unscramblers: trial sample selection and evidence recording (vendor source). Accessed October 8, 2026.
- How to Specify Bottle Filling Lines for Carbonated Drinks, MarketBrief360: format-dependent parts and changeover records. Accessed October 8, 2026.
Related guides
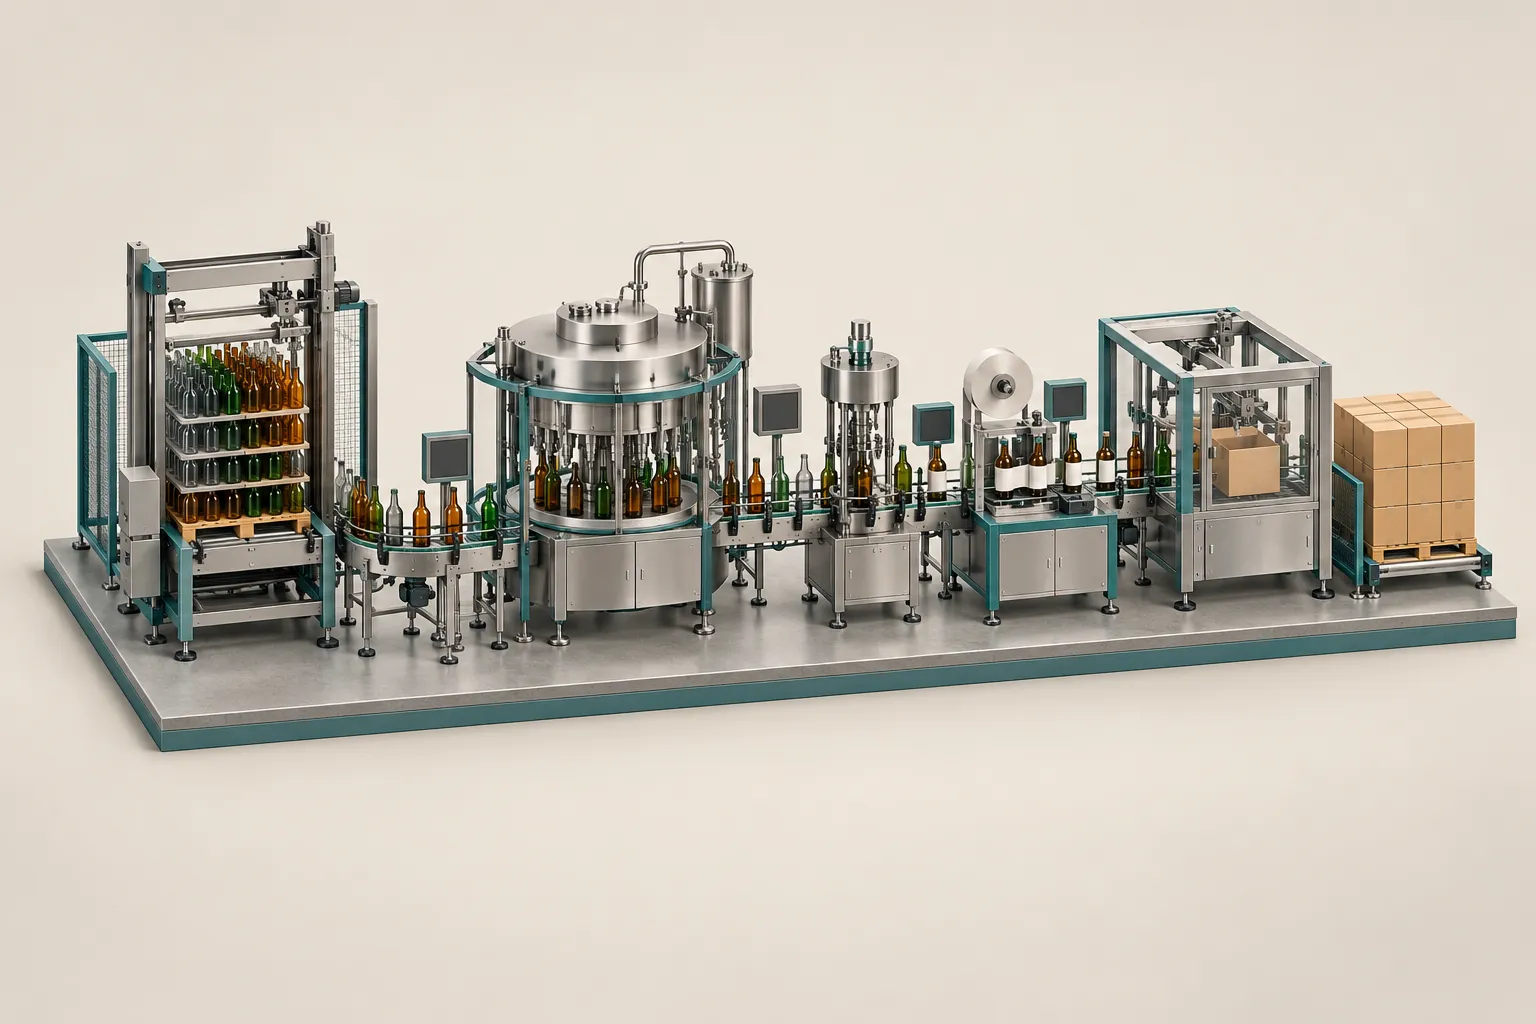
Planning a Glass Bottling Line: From Empty Bottles to Packed Cases
How to divide a glass bottling line into stations, size buffers around the bottleneck machine, and confirm machine interfaces before requesting quotes.
Read the guide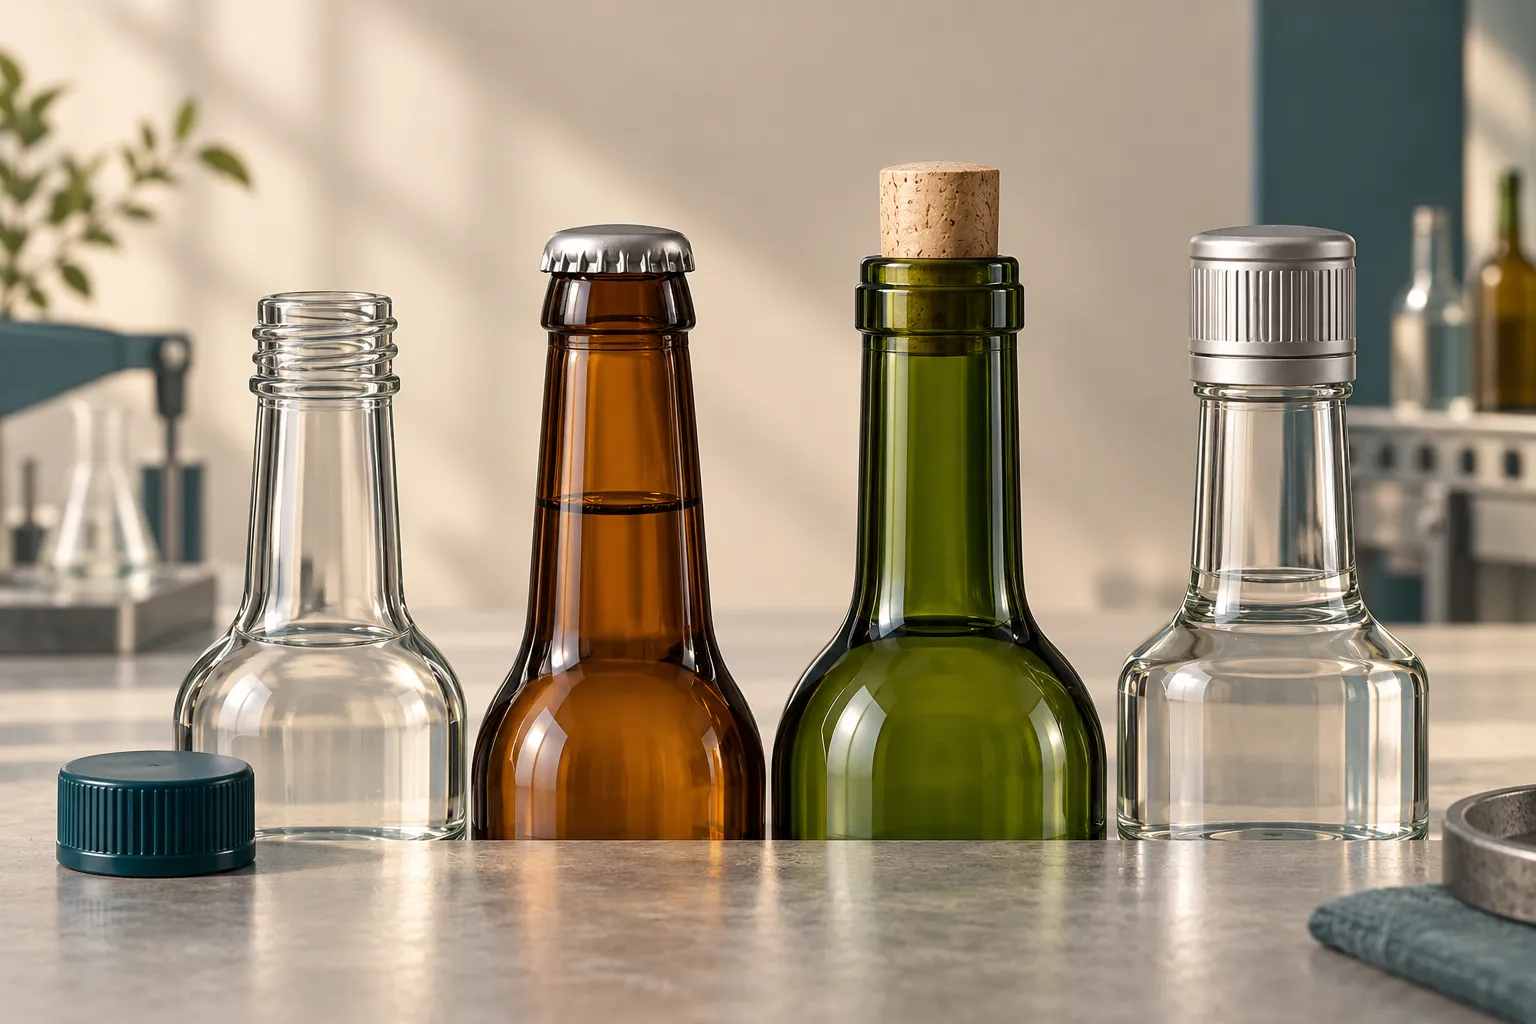
Bottle Neck Finishes and Closure Compatibility
How to read finish designations such as 28-400 and the T, E, I, H and S dimensions, and why a matching nominal diameter does not prove a closure fits.
Read the guide
Bottling Equipment RFQ Checklist: Comparing Supplier Proposals
How to write a bottling equipment RFQ so suppliers quote the same inputs, scope and performance basis, with a matrix for FAT, SAT, spares and warranty.
Read the guide