
Glass Bottle Defects: A Buyer’s Receiving and Supplier Report
Identify glass bottle defect locations, preserve lot and sample evidence, and use a receiving report to separate observations from supplier findings and release decisions.
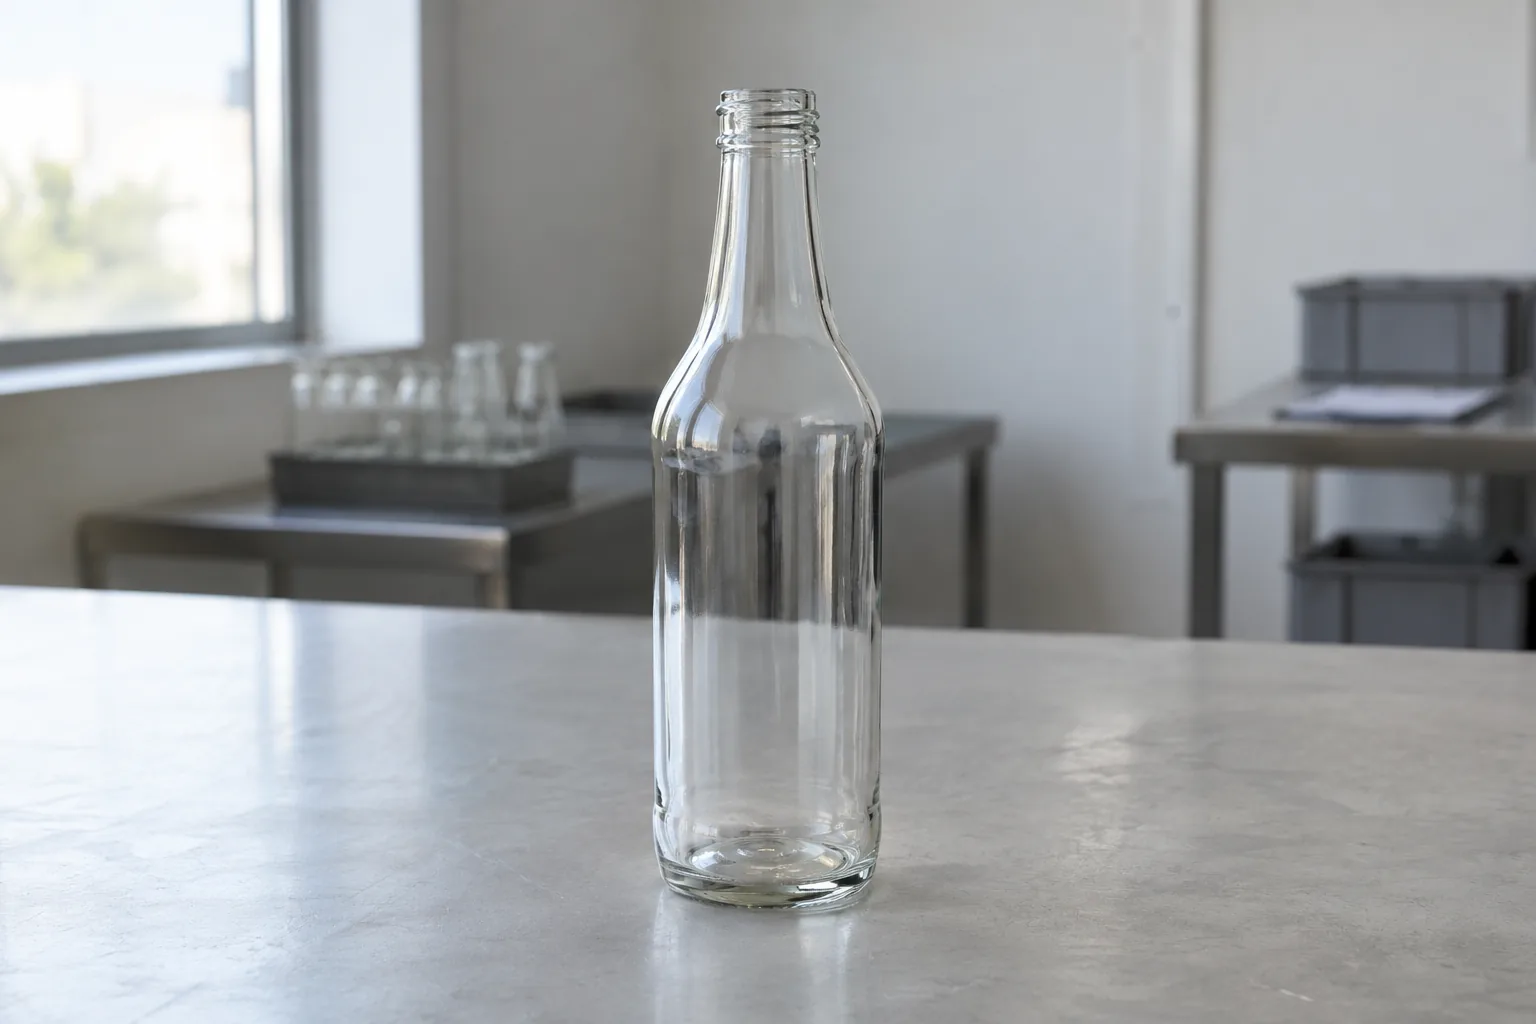
A defect report without a traceable bottle and lot leaves the supplier little to investigate. Record glass bottle defects by location and visible appearance, retain the sample identity, and let the quality owner determine containment and disposition under the agreed specification.
This guide is for buyers and receiving teams who need to report an anomaly in empty bottles or on a filling line. Use the receiving report below to connect the observation, batch, mold marking, inspection station and supplier response. It does not set acceptance limits or diagnose a manufacturing cause from a photograph.
Start with containment and a traceable observation
If you find suspected broken glass, a crack or an internal glass projection, follow your site’s glass-control and hold procedure and notify the quality owner. That owner should define the affected stock or production scope; one suspect bottle does not establish where the affected lot begins or ends. Avoid handling sharp areas or continuing a line trial to see whether the bottle will fail.
For the initial report, work through this sequence:
- Identify the material. Record the supplier, bottle code and drawing revision, delivery, batch and pallet or case reference. Keep the original packaging identification associated with the sample.
- Describe the observation. Give the bottle region and visible feature. Use “suspected” where identification is uncertain, and leave the cause unassigned.
- Preserve the evidence. Give each retained bottle a sample ID and associate it with photographs, inspection conditions and the discovery point.
- Record the decision owner. Log the hold reference, supplier investigation request and the person authorized to decide disposition. A supplier explanation and an internal release decision belong in separate fields.
This sequence is an editorial reporting aid. Your approved inspection plan determines sampling, escalation, handling and acceptance.
Locate the feature on the bottle
Use a region name before choosing a defect name. The location vocabulary below follows Bucher Emhart Glass’s Glass Container Defects: Causes & Remedies (2024, pages 2–5). A seam is a normal result of mold components meeting; whether its condition is acceptable depends on the agreed standard.
Read this location map from the top of the bottle downward. The table supplies the region names for the photograph and for your report.
Swipe or scroll horizontally to see all columns.
| Region | Where to locate the observation | Detail to add |
|---|---|---|
| Finish | Top portion above the neck-ring parting line, including the sealing surface and bore | Top rim, outside thread, inside bore or underside of finish |
| Neck | Below the finish, down to the shoulder curve | Inside or outside; position relative to a visible seam |
| Shoulder | Transition from neck to main body | Region and orientation of the feature |
| Body / sidewall | Main container wall | Height and position around the bottle |
| Heel | Curved transition between body and bottom | Side of the heel and its relation to a seam |
| Bottom / base | Part on which the bottle stands | Standing surface, central push-up or bottom seam |
For a closure-related observation, also record the designated neck finish and closure. A photograph of the threads alone does not identify the drawing revision or demonstrate sealing performance.
Use defect names as descriptions, with confirmation pending
Emhart’s manual groups defects by region and gives definitions, possible causes and remedies. The short vocabulary here helps make a report searchable; it does not assign severity. Where a feature is unclear, write a plain description such as “bright line on outside shoulder” and ask the supplier to confirm the term.
Swipe or scroll horizontally to see all columns.
| Term | What the published definition describes | What to capture in the report |
|---|---|---|
| Chipped finish | A portion broken away from the top or side of the finish | Which surface is affected; whole-bottle and close views |
| Check | A crack; the specific name depends on location and form | Region, orientation and viewing conditions; avoid guessing depth |
| Seed / blister | A very small bubble / a large bubble in the glass | Location, photograph and measured size only if actually measured |
| Stone | A small inclusion of refractory or unmelted batch material | Appearance and location; retain the sample for identification |
| Bird swing | A strand of glass across the container interior | Views that show its position and attachments, if visible |
| Sunken side | A side, usually a panel, not fully formed or sunk after mold release | Whole profile and affected panel, with drawing reference |
These are paraphrases of the manual’s relevant entries, including pages 16, 32, 50, 58, 106 and 148. “Seed” and “blister” are not numerical size bands in this guide. Neither a bubble nor an inclusion should receive a universal pass or fail label from this table.
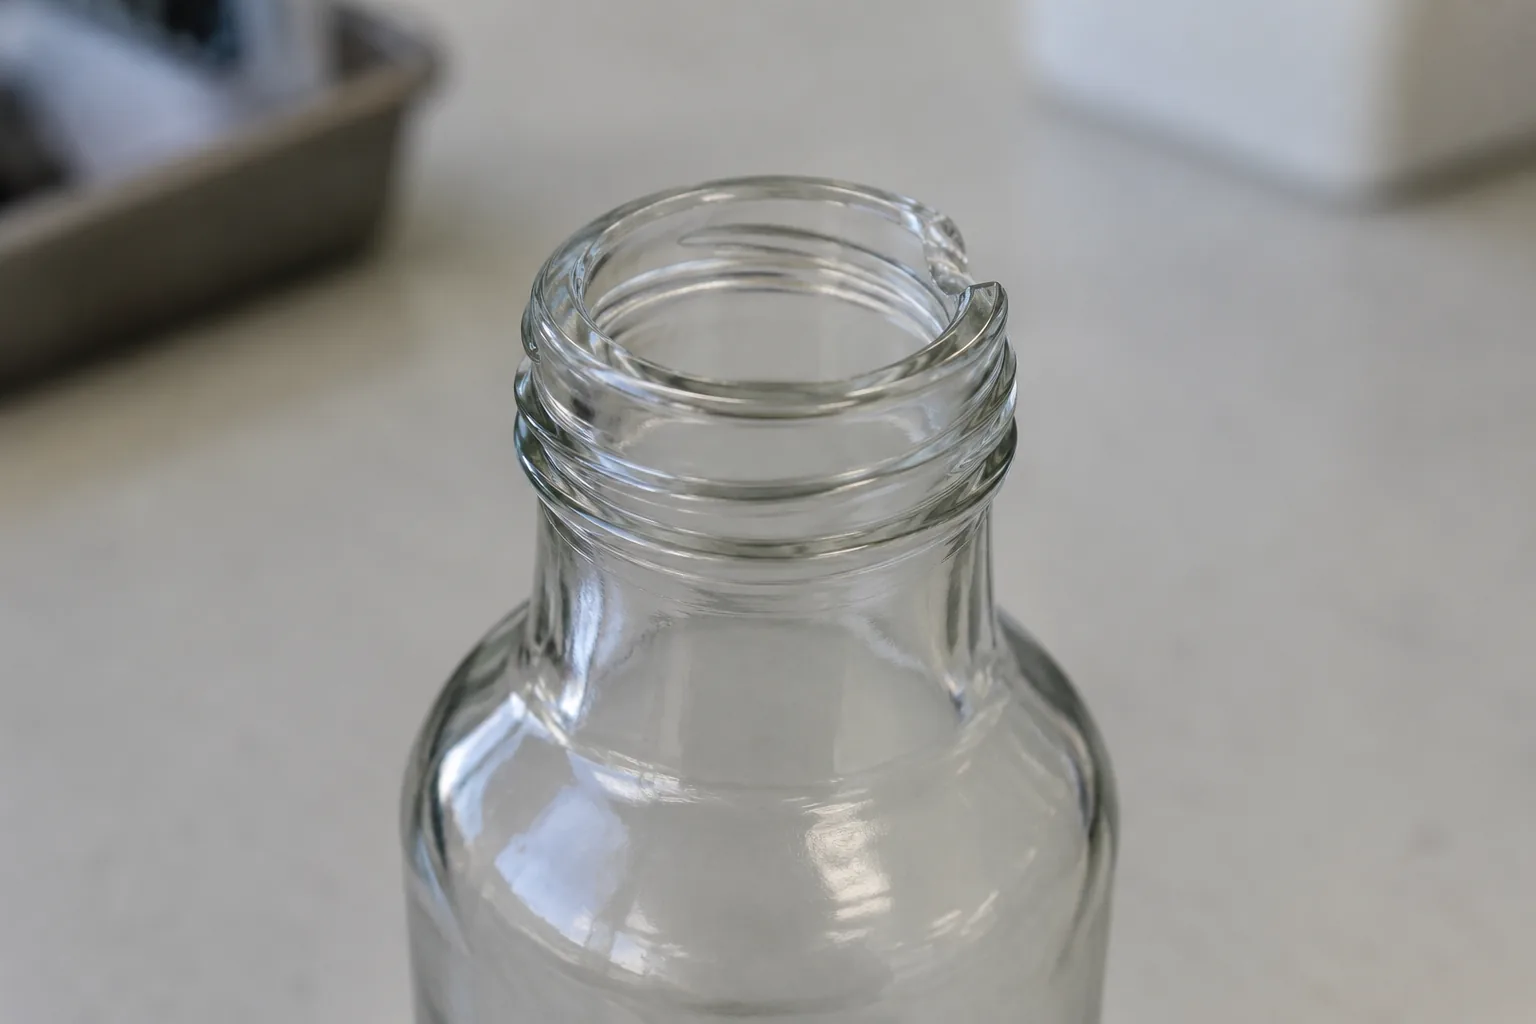
Photograph the location and keep the sample identifiable
A close-up needs context. Take a whole-bottle view that identifies the region, followed by a close view of the feature. Record whether the bottle was empty or filled, dry or wet, and viewed with light behind it or reflected from its surface. If the feature appears only at a certain angle, preserve that view and describe it. Do not turn an apparent size in an unscaled photograph into a measurement.
TricorBraun’s reporting guide recommends a clock reference for communicating position. For your own report, explicitly define the viewing direction and zero reference. For example, agree that a top view looking down through the mouth uses a photographed mold seam as 12 o’clock. Record which seam you used; if no suitable reference is identifiable, leave clock position blank and use an annotated copy of the photograph. Keep the original image too.
Record the mold or cavity marking as read, with its photograph. Ask the supplier to interpret an unfamiliar code. Matching markings can help organize an investigation, but do not by themselves prove a shared cause.
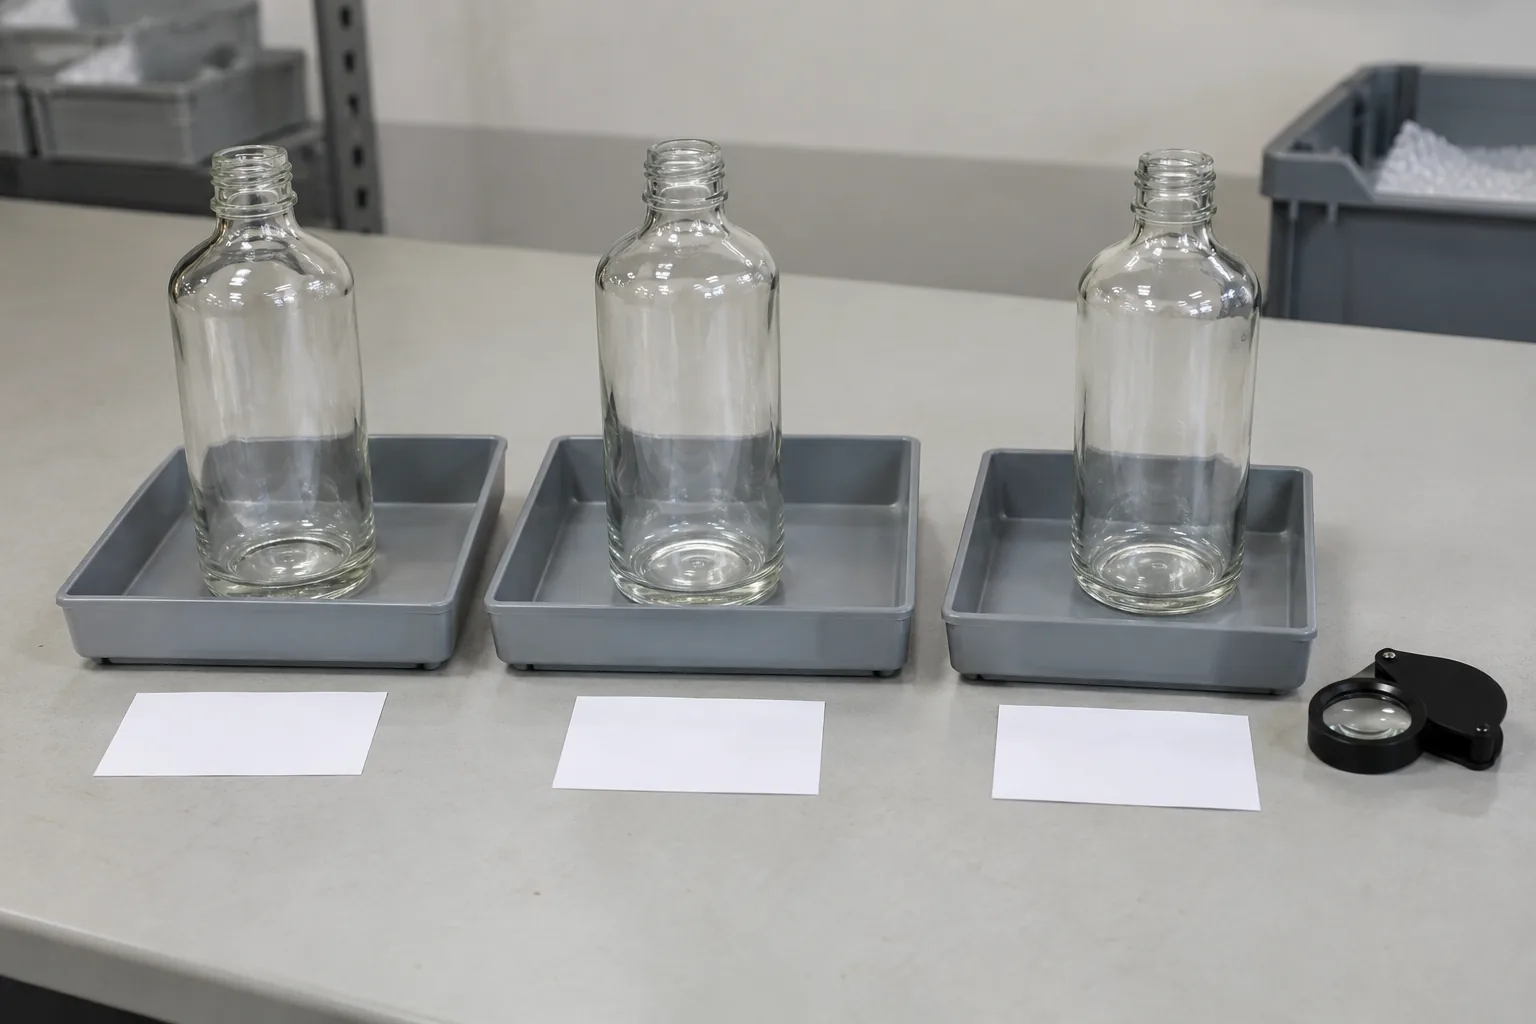
Use your site’s safe retention and shipping procedure. Associate each retained bottle with its sample ID, collection point and photographs; record any cleaning, handling or destructive examination that changes it. The sample’s condition when first observed should remain distinguishable from later investigation work.
Receiving and supplier-response record
Copy this worksheet or download the blank CSV record. Use one record per sample or clearly defined observation group, and link related records under the same incident reference. Blank cells are intentional: enter “Unknown” where appropriate rather than infer a batch, measurement or cause.
Swipe or scroll horizontally to see all columns.
| Field | Entry |
|---|---|
| Incident reference, recorder and discovery date/time | ______ |
| Supplier, bottle code and drawing / specification revision | ______ |
| Delivery reference, batch / production code | ______ |
| Pallet, layer / case and collection location | ______ |
| Mold / cavity marking as read; marking photograph | ______ |
| Sample ID, quantity retained and storage location | ______ |
| Discovery point: receiving, infeed, rinser, filler, capper or other | ______ |
| Bottle condition and observation lighting / viewing angle | ______ |
| Region, orientation and position reference | ______ |
| Visible description and suspected defect term | ______ |
| Photograph filenames; measurement and method, if available | ______ |
| Quantity examined, quantity with observation, selection method | ______ |
| Hold reference, affected scope and quality owner | ______ |
| Supplier case reference, contact and response date | ______ |
| Supplier-confirmed defect term, cause and supporting evidence | ______ |
| Supplier containment, corrective action and verification evidence | ______ |
| Final disposition, authorized decision maker and date | ______ |
Keep “quantity examined” attached to its selection method. Counts from bottles deliberately selected because they looked unusual do not estimate the defect rate of a delivery. The record contains no acceptance calculation or implied sample-size requirement. Keep the agreed criteria in the controlled bottle specification.
Example of wording, not an incident report: “Suspected check at outside shoulder; visible with reflected side light; sample, batch and marking fields pending.” This states the observation and the missing evidence without declaring a forming fault.
Ask for findings that close the investigation
Send the report through your established supplier-quality process. Ask the supplier to confirm the defect term, identify what evidence supports its cause assessment, define its affected production scope, and explain containment and corrective action. Ask how any corrective action was verified for the relevant bottle and production, rather than accepting “machine adjusted” as a complete response.
Emhart’s manual lists multiple possible causes for many defects. Its manufacturing remedies are troubleshooting references for qualified production personnel; a receiving photograph cannot select the correct adjustment. The glass manufacturing process guide explains the production stages if you need that context.
If the anomaly passed an inspection station, record the station and available reject or inspection evidence, then review the inspection scope with the responsible team. Use the bottle inspection systems guide for the separate question of what each station is intended to check. The presence of an inspection machine does not establish that this particular feature was tested successfully.
Close the record only when the authorized quality owner has documented disposition under the applicable specification and site procedure. Keep the supplier response and supporting evidence attached to the original observation.
Sources and limits
This is a general editorial worksheet for reporting glass-container anomalies. It supplies no AQL, defect-size limit, release rule, equipment detection limit or pharmaceutical qualification. The photographs show bottle features and sample arrangements; they are not records of a tested lot. Site quality procedures and agreed specifications govern the actual decision.
- Bucher Emhart Glass, Glass Container Defects: Causes & Remedies, BR0060RevA, published July 2024; accessed October 15, 2026. Introduction, container anatomy and the named defect entries support the terminology and the limits on inferring causes.
- TricorBraun, How to Identify and Report Packaging & Bottle Defects, accessed October 15, 2026. Supports using location and a clock reference in a report. Its example severity classes are not adopted as acceptance criteria here.
Related guides
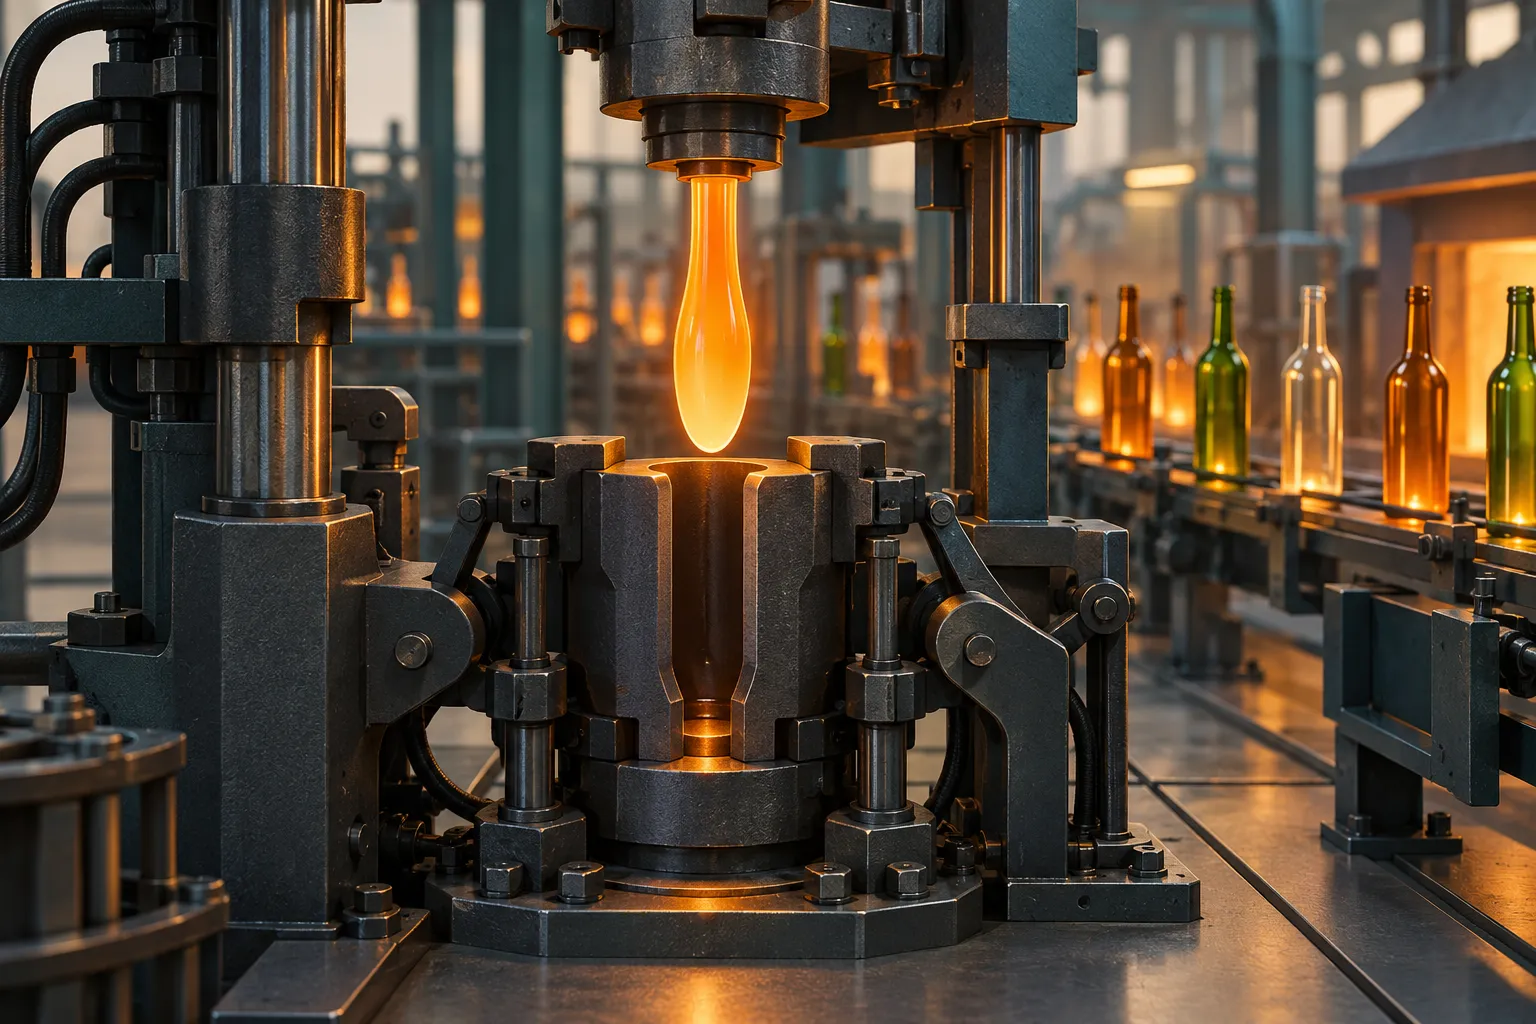
How Glass Bottles Are Made: From Batch Materials to Inspection
A plain-language walk through glass bottle manufacturing: batch, furnace, forehearth, gob feeding, IS machine forming, coatings, annealing and inspection.
Read the guide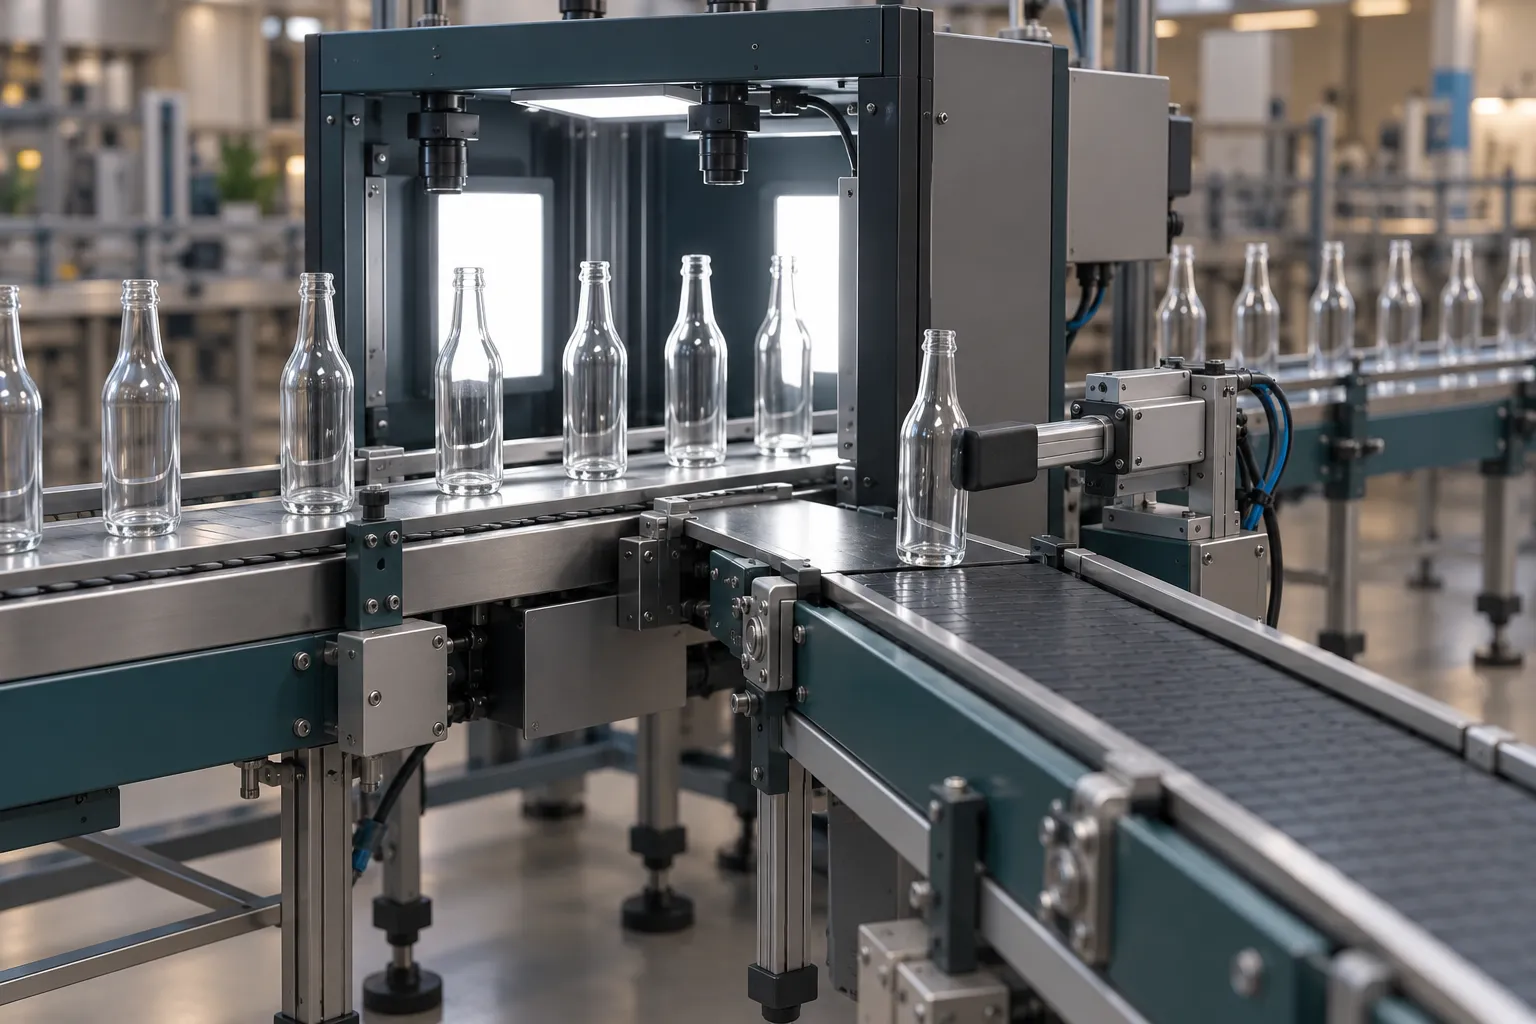
Bottle Inspection Systems: Comparing What Each System Checks
Compare empty bottle, fill level, closure, label and code inspection by scope and limits, and ask for reject verification, test bottles and validation records.
Read the guide
Glass Bottle Specifications: A Checklist for Supplier Enquiries
A checklist of what to state in a glass bottle enquiry: drawing dimensions, capacity and fill point, finish, color, strength, decoration, quality and packing.
Read the guide